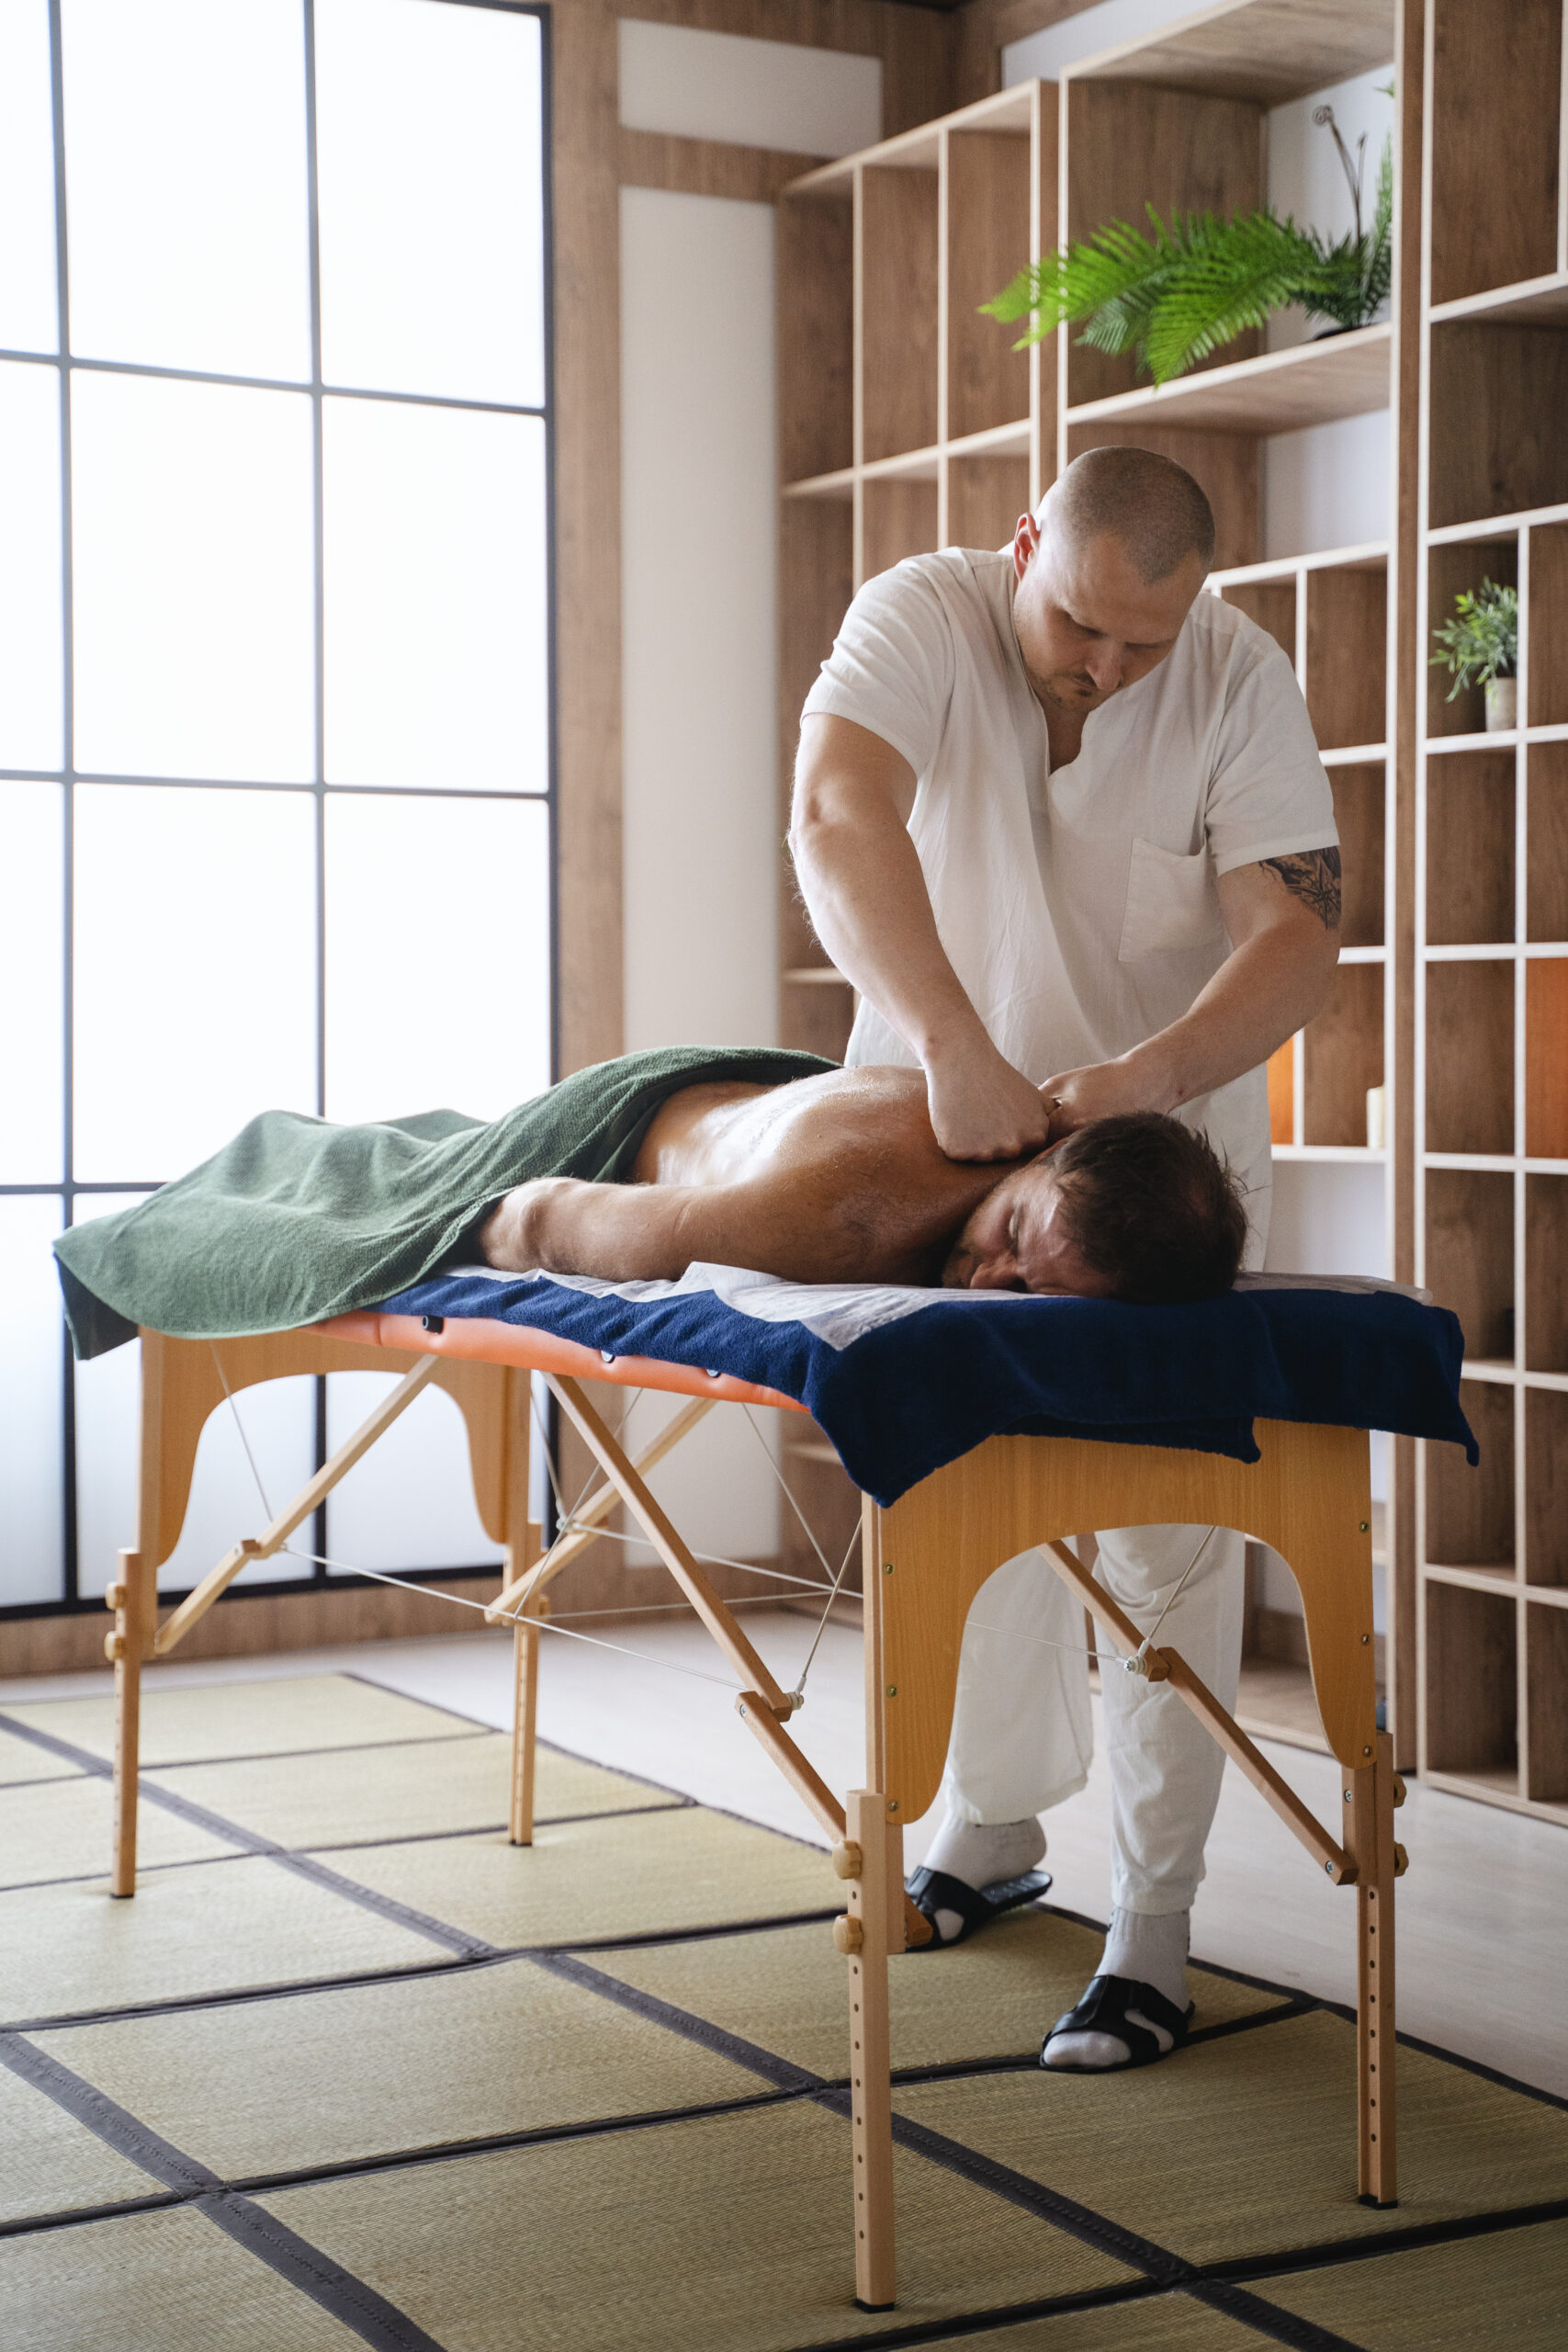
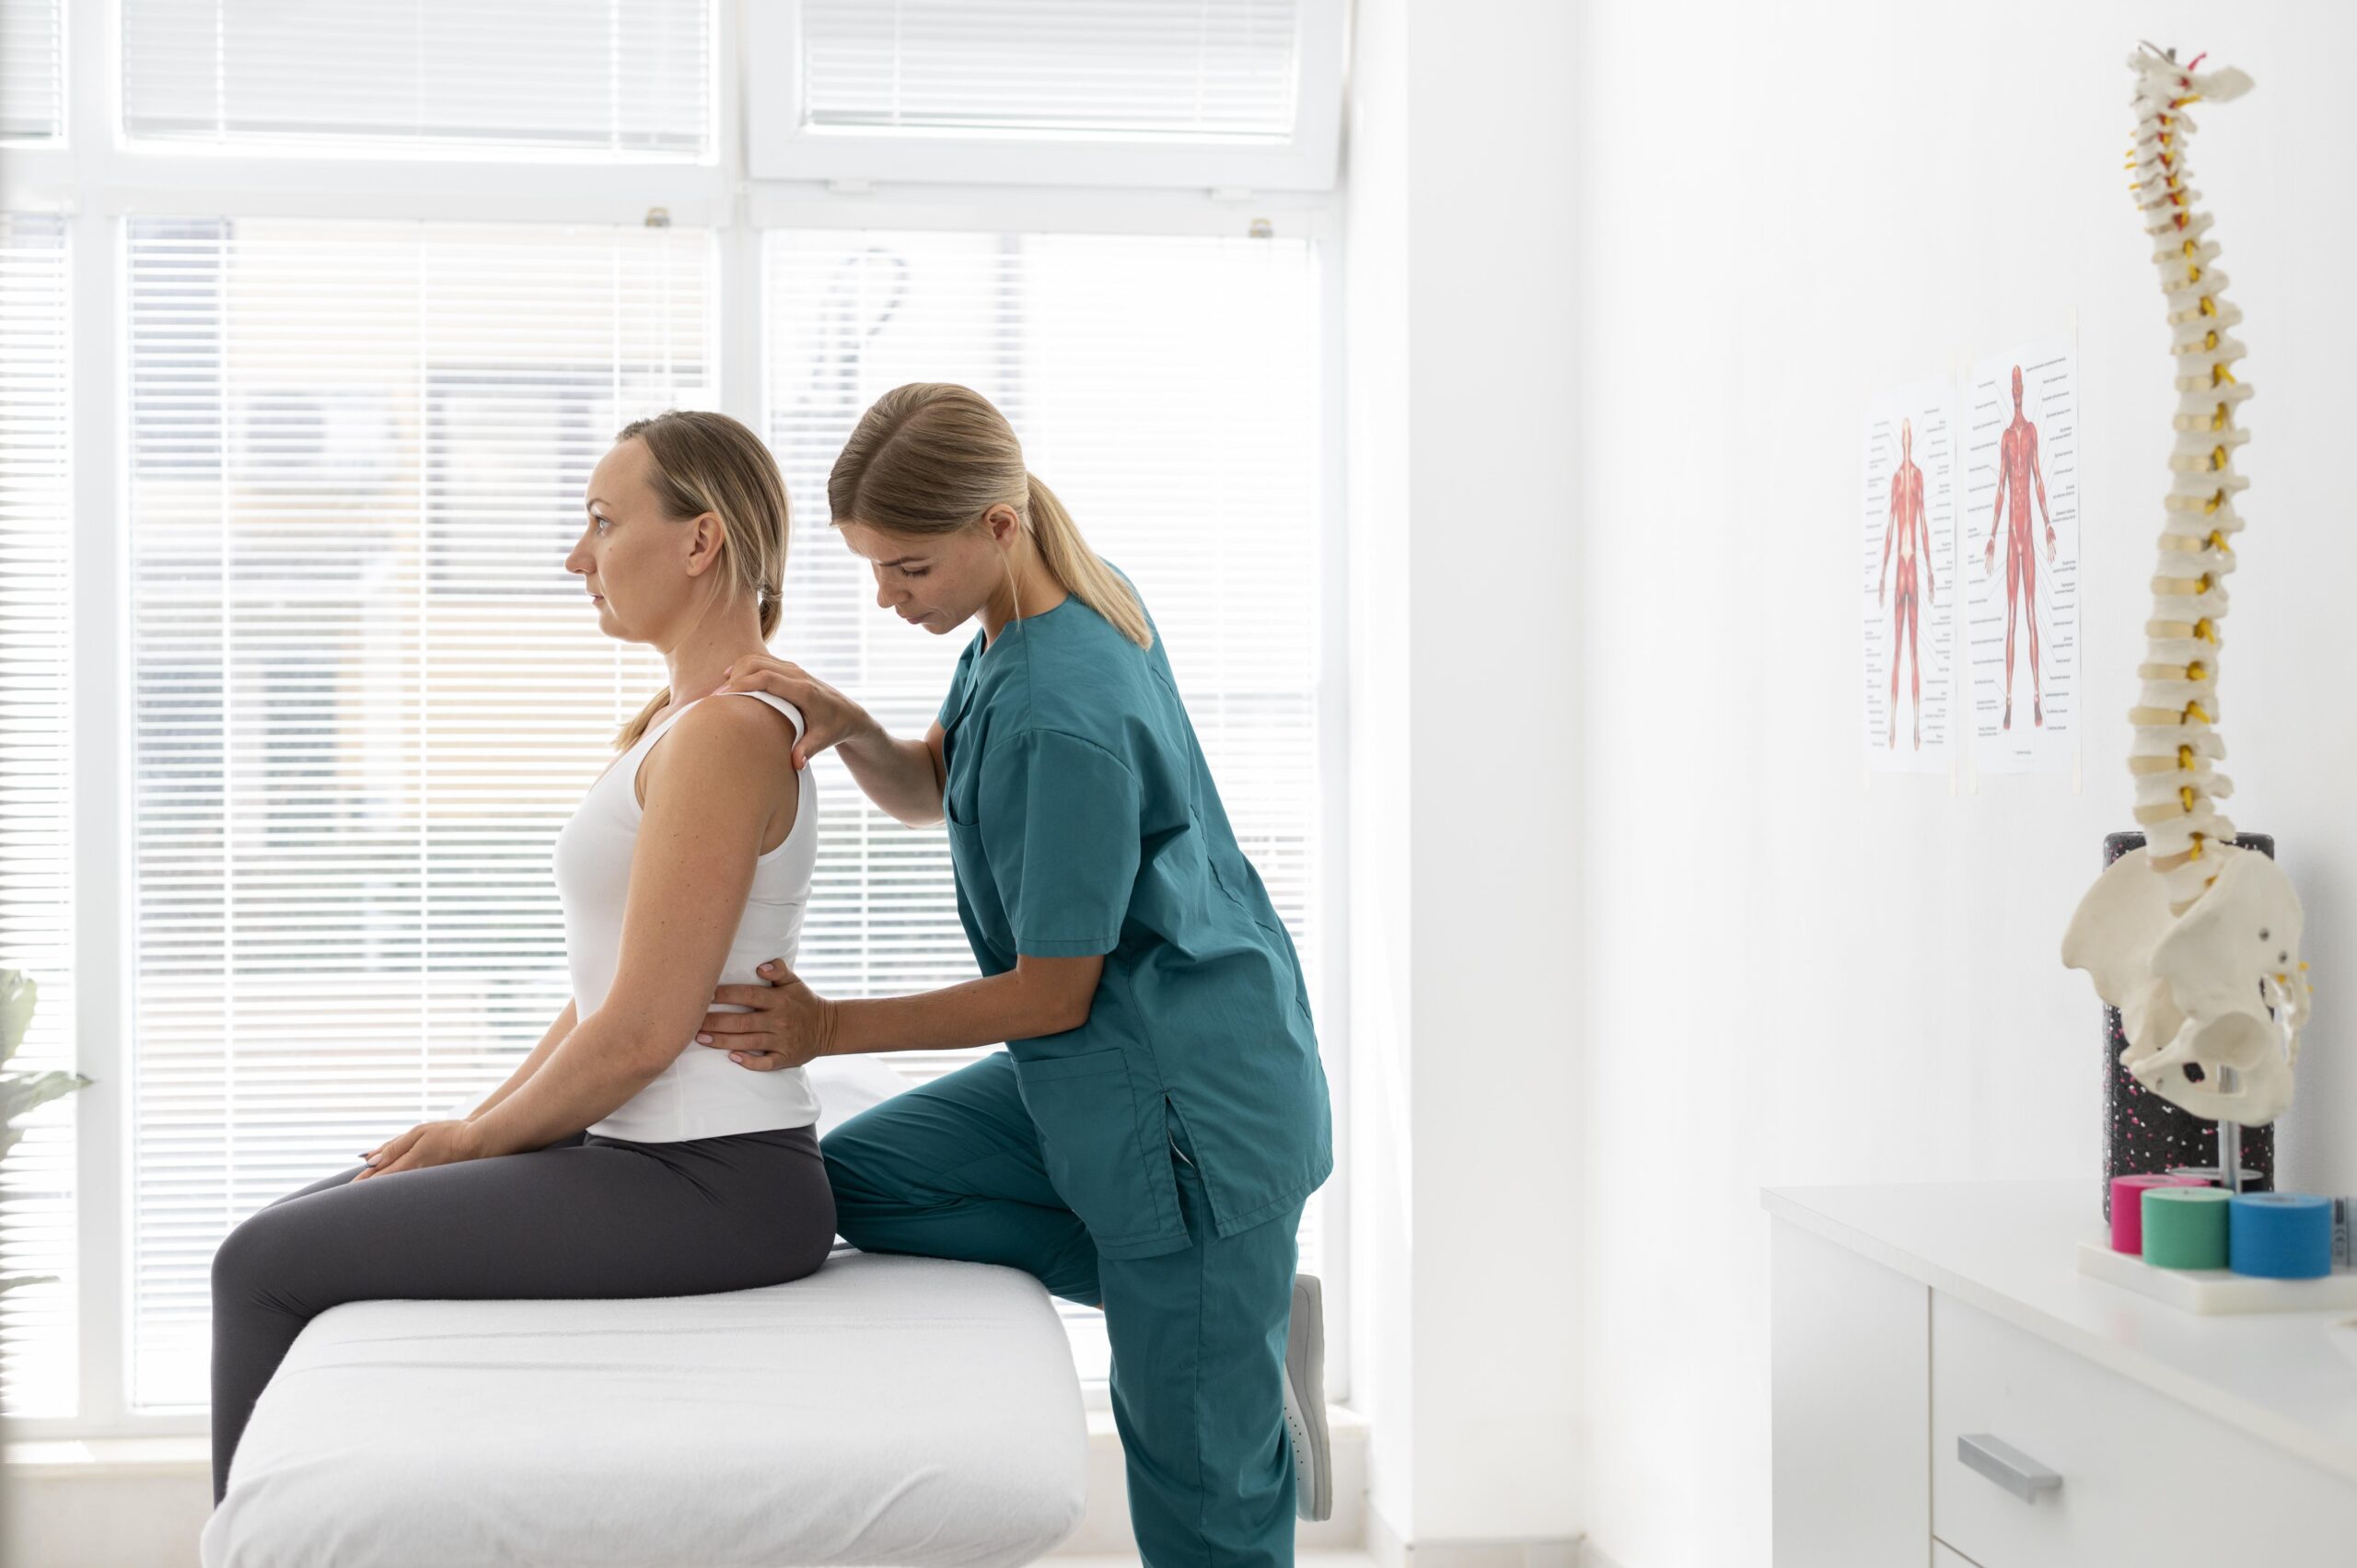
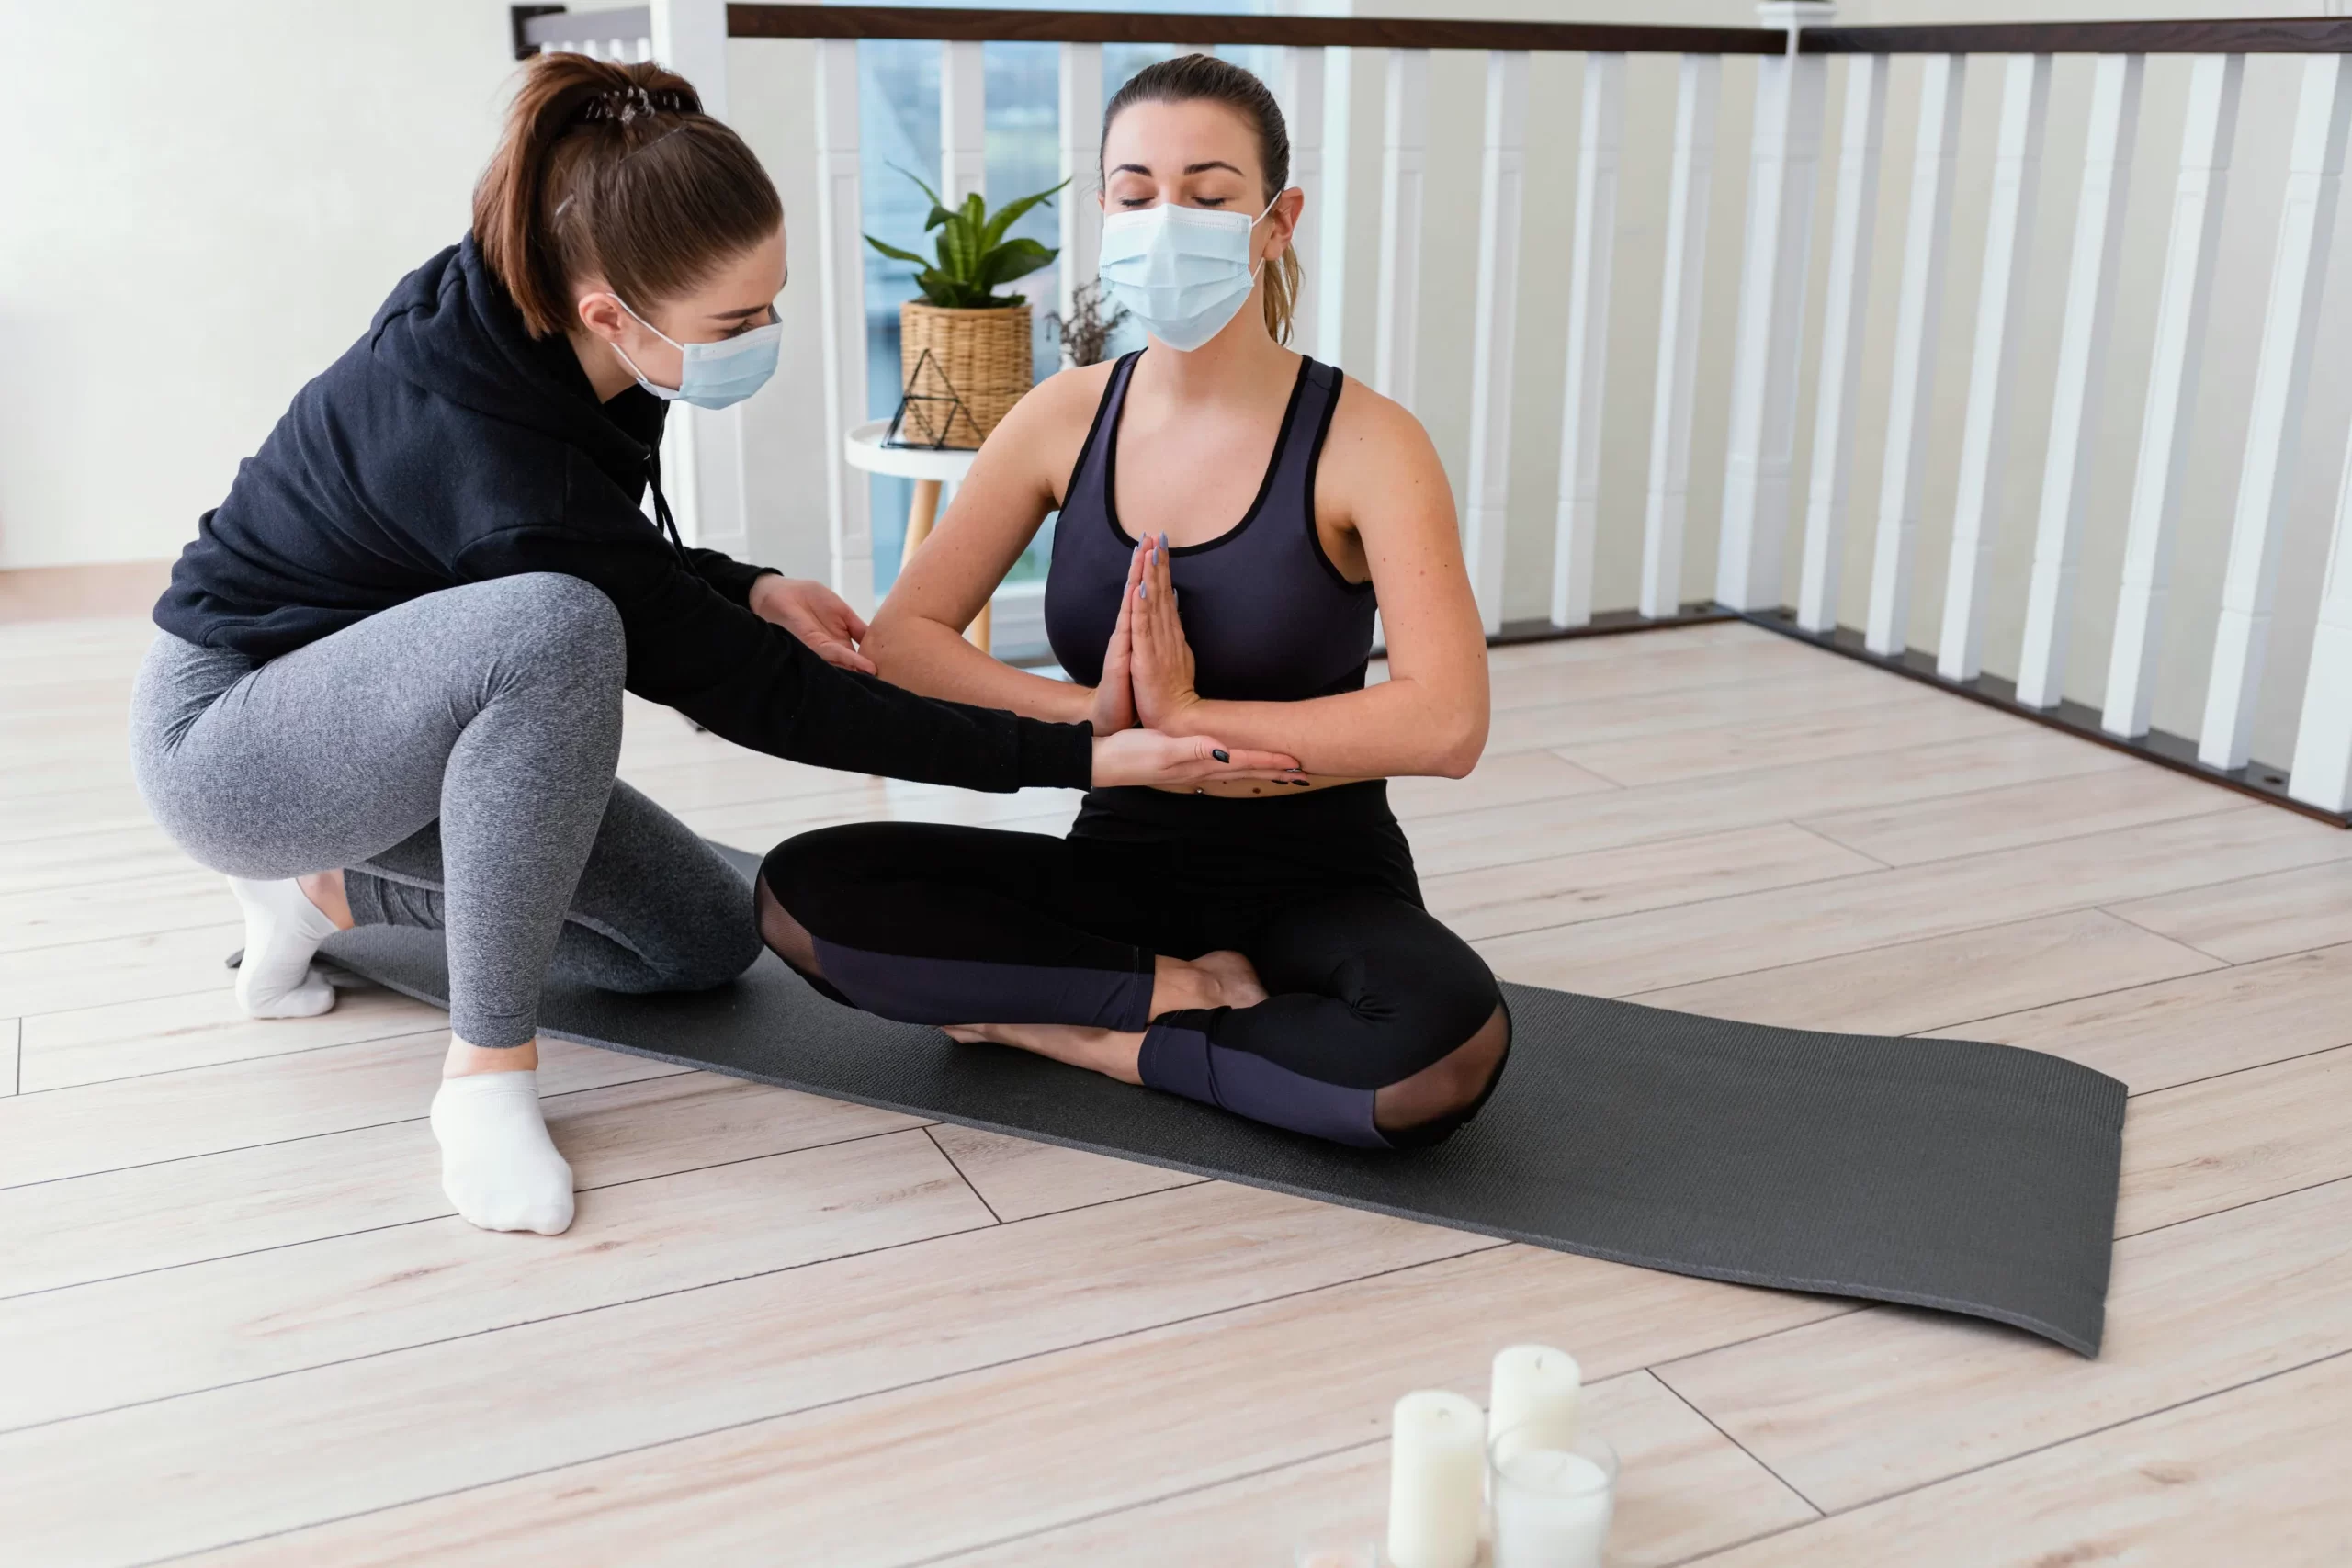
Yoga therapy is a type of therapy that improves mental and physical health by utilising yoga postures, breathing exercises, meditation, and guided imagery. Yoga therapy’s holistic approach supports the integration of mind, body, and spirit. Modern yoga therapy encompasses a wide range of therapeutic methods, including elements of physical therapy and psychology.
Yoga poses are classified according to how your body moves to complete them. Here are some examples of basic yoga poses.
Standing poses: In a yoga session, standing poses are generally done first to “create heat” and warm you up. Standing poses are connected together to generate extended sequences in vinyasa/flow yoga. In Hatha lessons, you can do the standing postures separately, with a little break in between.
Vinyasa yoga, sometimes known as “flow” because of the fluidity with which the poses flow together, is one of the most popular contemporary yoga forms. It is a broad category that includes many various styles of yoga, such as Ashtanga and power yoga. Here is all you need to know about vinyasa yoga.
What Is Vinyasa Yoga?
Vinyasa stands in opposition to hatha.Hatha lessons concentrate on one position at a time, with periods of rest in between. Flow classes, on the other hand, tie postures together to create a sequence.
The sequence can be fixed, as in Ashtanga, where the poses are always performed in the same order. However, most vinyasa teachers have the freedom to design the succession of poses in their own unique style.
What is Hatha Yoga?
Hatha yoga is the type of yoga that most people think of when they think of yoga in general. Breath, body, and mind are all included in the practice, and lessons typically last 45 minutes to 90 minutes of breathing, yoga positions, and meditation.
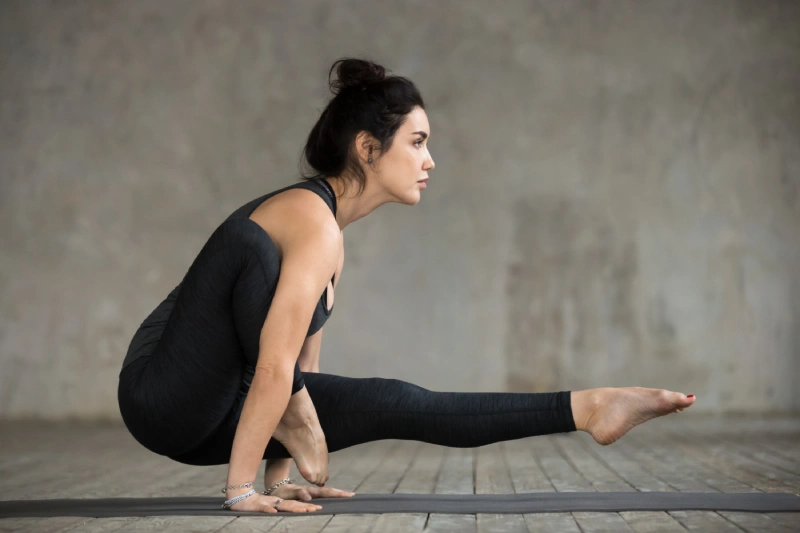
Balancing poses: Balances for beginners are an excellent approach to develop the core strength required for many of yoga’s more advanced poses. Though balancing may appear tough at first, constant practice will show that you can significantly improve.
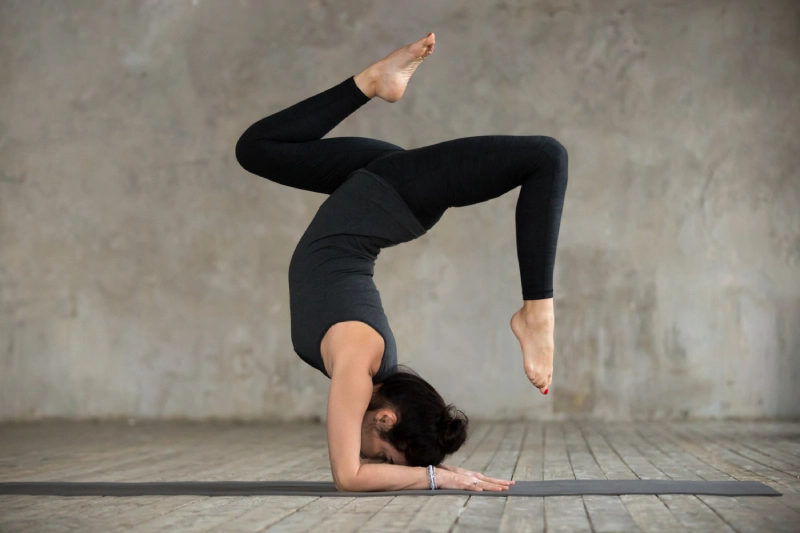
Backbends: As a beginner, you should start with modest spine flexion and extension before progressing to deeper bends. Backbends are important for spinal health and lifespan because you rarely move like this in everyday life.
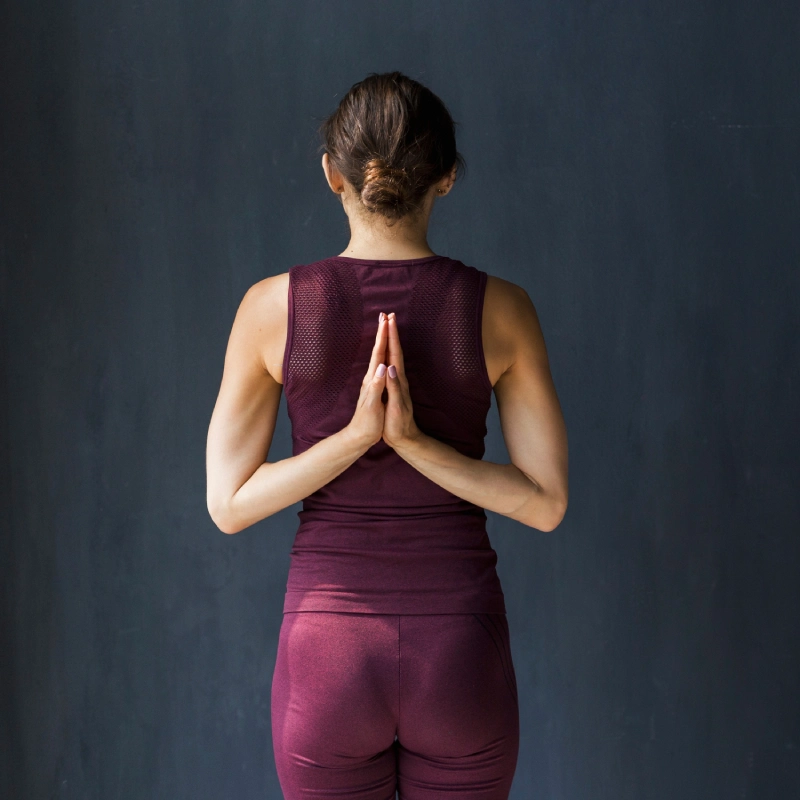
Seated poses: Seated stretches, which frequently target the hips and hamstrings, are typically performed at the end of a yoga class after the body has warmed up. Placing a folded blanket or a block under your seat can help you feel more at ease in these positions.

Resting or supine poses: It is critical to become familiar with your resting postures, particularly child’s pose, which you should practice whenever you need a break during a yoga session. The hip and hamstring training from the seated postures is continued in these resting poses, which also include light back-bending, twisting, and inversion.
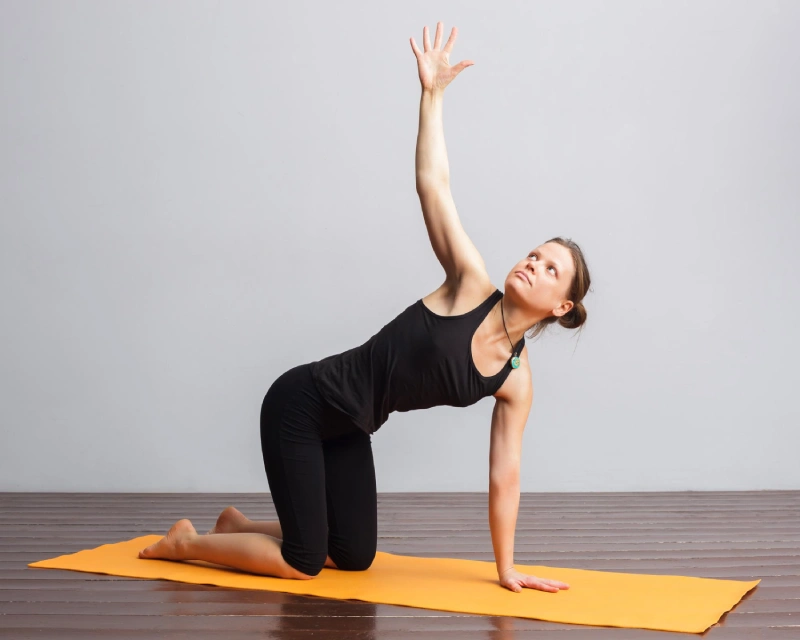
7 simple poses that will help you start your practice
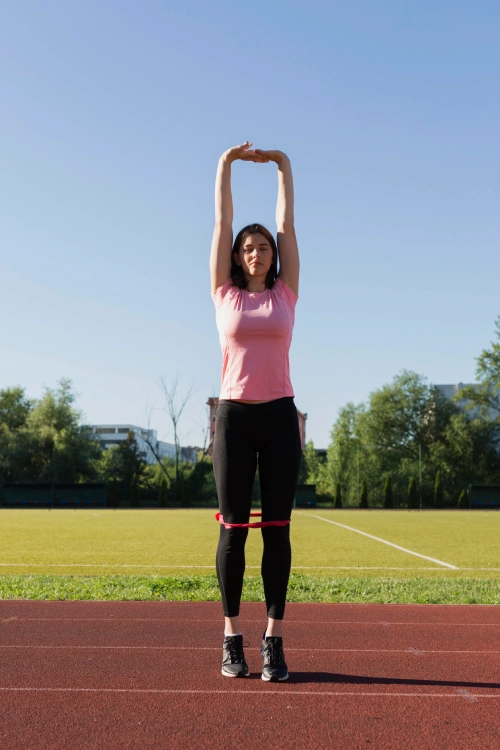
1. Mountain Pose (Tadasana)
Mountain stance is not as well-known as Downward Facing Dog, yet it is just as fundamental. This is a wonderful moment to discuss alignment, or how your body components should be positioned in each pose.
Mountain pose’s alignment creates a straight line from the crown of your head to your heels, with your shoulders and pelvis stacked along the line. Because each person’s body is unique, concentrate on rooting down with your feet and lengthening up with your spine.
In class, your yoga instructor can walk you through it, reminding you to move your shoulders down your back and keep your weight on your heels.
How to do it: Stand with your feet together and your arms at your sides. Make careful you press all four corners of your feet into the ground. Straighten your legs next, then tuck your tailbone in while engaging your thigh muscles. As you inhale, lengthen your body and extend your arms up and out. Exhale and move your shoulder blades away from your head, toward the back of your waist, while returning your arms to your sides.
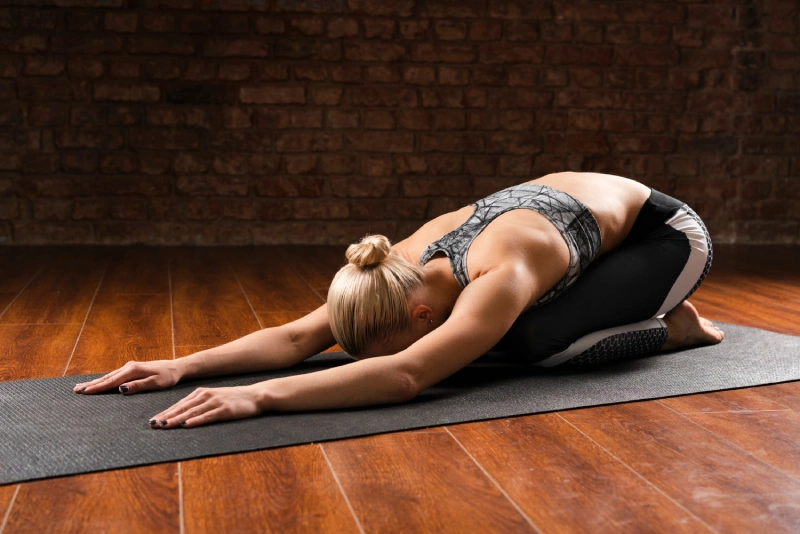
2. Child’s Pose (Balasana)
Child’s pose is important because it is the position you assume whenever you need to take a break during a yoga class. You do not have to wait for the teacher to call a break if you are tired.
Simply enter Child’s Pose and return to the class when you’re ready. It stretches the back, hips, thighs, and ankles gently but does not test strength or balance.
Taking Child’s Pose is entirely up to you, which introduces one of yoga’s most important lessons: being attuned to your body’s signals and respecting them above all external instructions.
How to do it: Begin by kneeling with your toes tucked under. Lower your buttocks to your feet while stretching your upper body forward and down with your arms extended. Your tummy should be resting comfortably on your thighs, and your forehead should be on the mat.
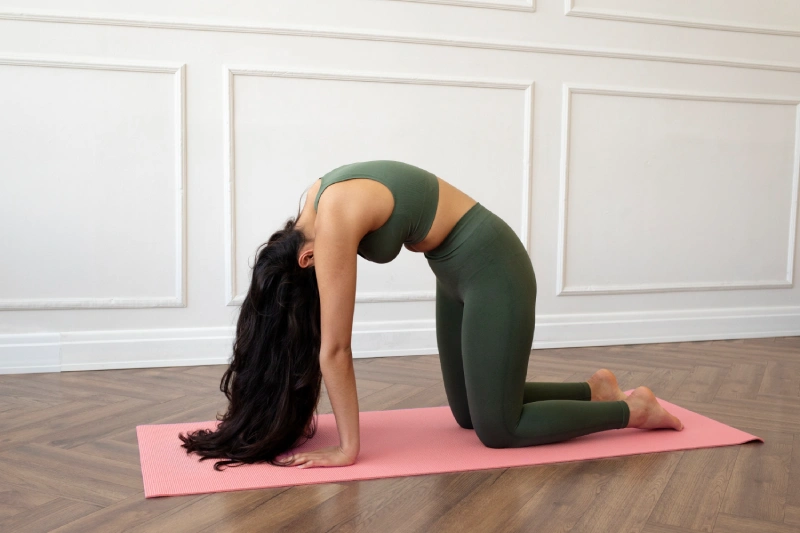
3. Cat/Cow Pose (Marjaryasana to Bitilasana)
It combines the benefits of spinal extension with spinal flexion. Moving back and forth awakens and warms the back, develops body awareness, and serves as a fundamental start to doing a vinyasa sequence by syncing your motions with your breath.
Cat-Cow is one of the most crucial poses to learn while beginning yoga, especially if you suffer from back problems. Even if you only attend a few yoga courses a week, keep practising this stretch on your own.
How to do it: Start on your hands and knees on the floor, with your spine neutral and your abs engaged. Inhale deeply, then exhale by rounding your spine up towards the ceiling and tucking your chin into your chest, relaxing your neck. Arch your back and relax your abs on the following breath. Lift your head and tailbone up, taking care not to strain your neck by moving too rapidly or deeply.
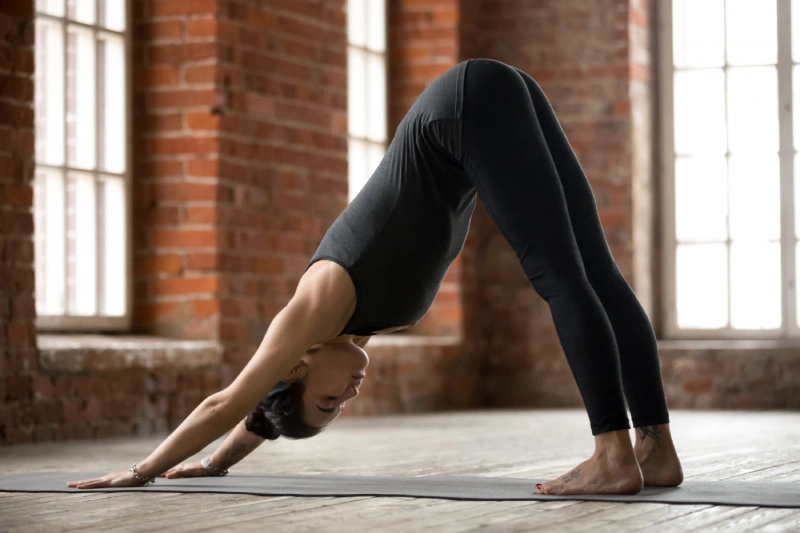
4. Downward-Facing Dog (Adho Mukha Svanasana)
How to do it: Get on your hands and knees with your palms slightly past your shoulder and your fingers pointing forward. Your knees should be under your hips, and your toes should be tucked. Raise your hips and thrust your body back into a V-shape. Foot spacing should be hip-width. Remember that it’s fine if you cannot get your feet to the floor (your hamstrings might be too tight). Spread your fingers and toes and move your chest to your legs.
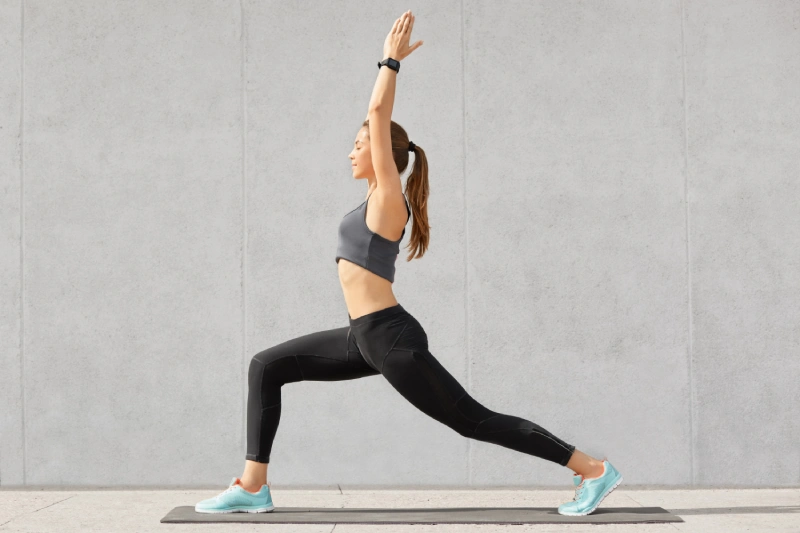
5. Warrior I (Virabhadrasana I)
The most important thing to remember in Warrior I is that the hips should be facing forward. Consider your hip points to be headlights, and they should be about parallel to the front of your mat. This may necessitate a more expansive stance.
How to do it: Start in the mountain pose. Step your left foot back about four feet as you exhale, putting you in a lunge stance with your right ankle over your right knee. Raise your arms high, biceps by your ears, and pivot your left foot 90 degrees to face the left wall. Align your left heel parallel to your right heel. Expand your chest and bring your shoulders back, then drop yourself toward the floor while raising your arms. As you continue to breathe, keep your hips square to the front.
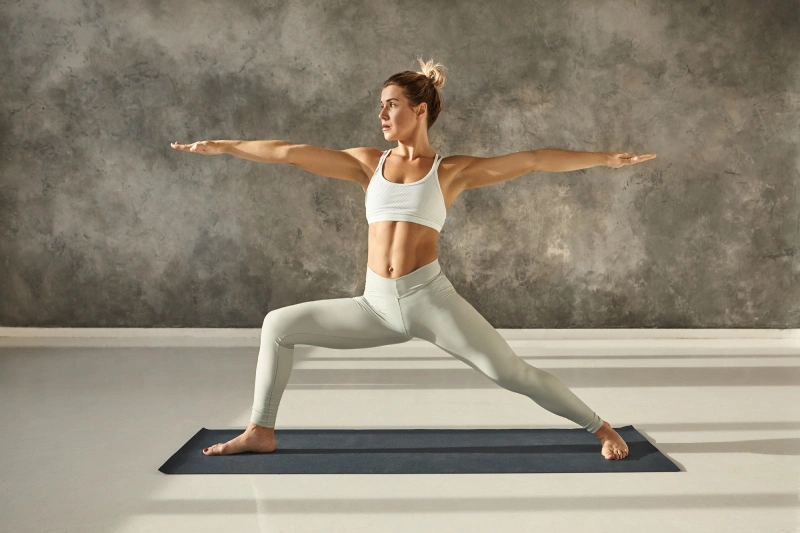
6. Warrior II (Virabhadrasana II)
Unlike Warrior I, the hips in Warrior II face the side of the mat. When transitioning from Warrior I to Warrior II, the hips and shoulders open to the side.
You will also rotate your back foot 45 degrees, angling your toes. Aim to keep your front leg stacked over your ankle in both Warrior positions. Your front toes should point forward.
How to do it: Begin in the mountain position. Exhale and take a four-foot stride back with your left foot, making sure your heels are in line. Turn your back foot 90 degrees so it is perpendicular to your front foot. Raise your arms to shoulder height, parallel to the floor, right arm in front, left arm behind. Bend your front knee so that it is directly over your ankle, then sink your hips low until your front thigh is parallel to the floor. Look straight forward, with your eyes aligned with your front-facing arm.
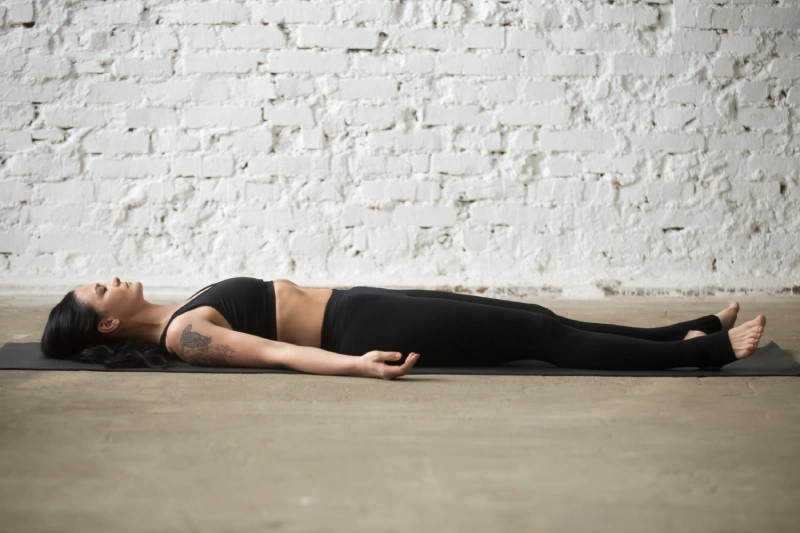
7. Corpse Pose (Shavasana)
The majority of yoga sessions conclude with you lying flat on your back in Corpse pose. It’s a crucial transition from your yoga practice to the rest of your day. Bringing the body to stillness tests the mind’s ability to remain calm. This may be challenging at first, but it will become simpler with practice.
How to do it: Lie down on your back with your feet by your sides. Bring your arms in front of your torso, slightly parted, palms facing the sky. Relax your entire body, including your face. This is usually the last posture of a class, and you will stay in it for anywhere from 30 seconds to five or ten minutes. When it is time to progressively awaken your mind and return to a seated position, your instructor will cue you.
The yoga therapist at Fitness Canada Physio and Massage Centre is a clinician who combines sound knowledge in principles of yoga therapy with a background in modern medicine. There is lots of research available to support the clinical benefits of Yoga therapy. While yoga by itself can alleviate a number of problems, it is particularly effective as a complement to other forms of healthcare, both alternative and conventional. Studies suggest, for example, that yoga therapy can lessen the side effects of chemotherapy and radiation treatments for people with cancer and facilitate faster recovery after bypass surgery. In clinical trials, many patients with asthma, type 2 diabetes (formerly known as adult-onset diabetes), or high blood pressure,who began a regular practice of yoga, were able to either lower their drug dosage, or eliminate some pills entirely.Less medication means fewer side effects, and, sometimes, very substantial cost savings.
For more information visit : https://fitcanphysio.com/calgary-yoga-therapy/


